


How to Solar Power Your Wireless Outdoor Security Cameras
Let’s be real—nobody wants to run 100 feet of cable across their yard or climb a ladder every two weeks just to recharge a camera battery. If you are looking for a solid home security camera system that doesn’t tie you to power outlets, solar is the way to go. It’s not just about saving on your electric bill; it’s about putting cameras exactly where you need them, whether that is a back fence, a detached garage, or a dark corner of the driveway.
Here is the good news: setting up a solar-powered setup is easier than most people think. We are going to walk you through the key steps, making sure you get the best performance without overcomplicating things.
Why Solar Power Changes the Game
Traditional wired cameras are a pain. You either have to drill through walls or pay an electrician. Battery cameras? They are convenient until the battery dies at 2 AM. Solar power solves both problems by using the sun to keep your gear running 24/7.
This is especially useful if you have spots around the house where running power is just not practical—think long driveways, barns, or vacation cabins. Plus, with motion-activated recording, the power draw is minimal, so a decent solar panel keeps up easily.
What You Actually Need to Get Started
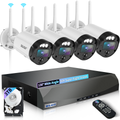
Before you buy anything, you need to understand the basic parts of a reliable solar camera system. Most setups, including the streamlined solutions from WEILAILIFE, rely on these core components:
-
The Solar Panel: Usually, a 5W to 20W panel is plenty for most outdoor cameras. You want something weatherproof (IP65 or higher) and adjustable, so you can angle it toward the sun.
-
The Battery: Lithium-ion or LiFePO4 batteries are your best bet. You generally want at least 2-3 days of backup power for those cloudy stretches.
-
The Camera: This is the heart of it. Look for a low-power model with motion detection, two-way audio, and reliable Wi-Fi connectivity.
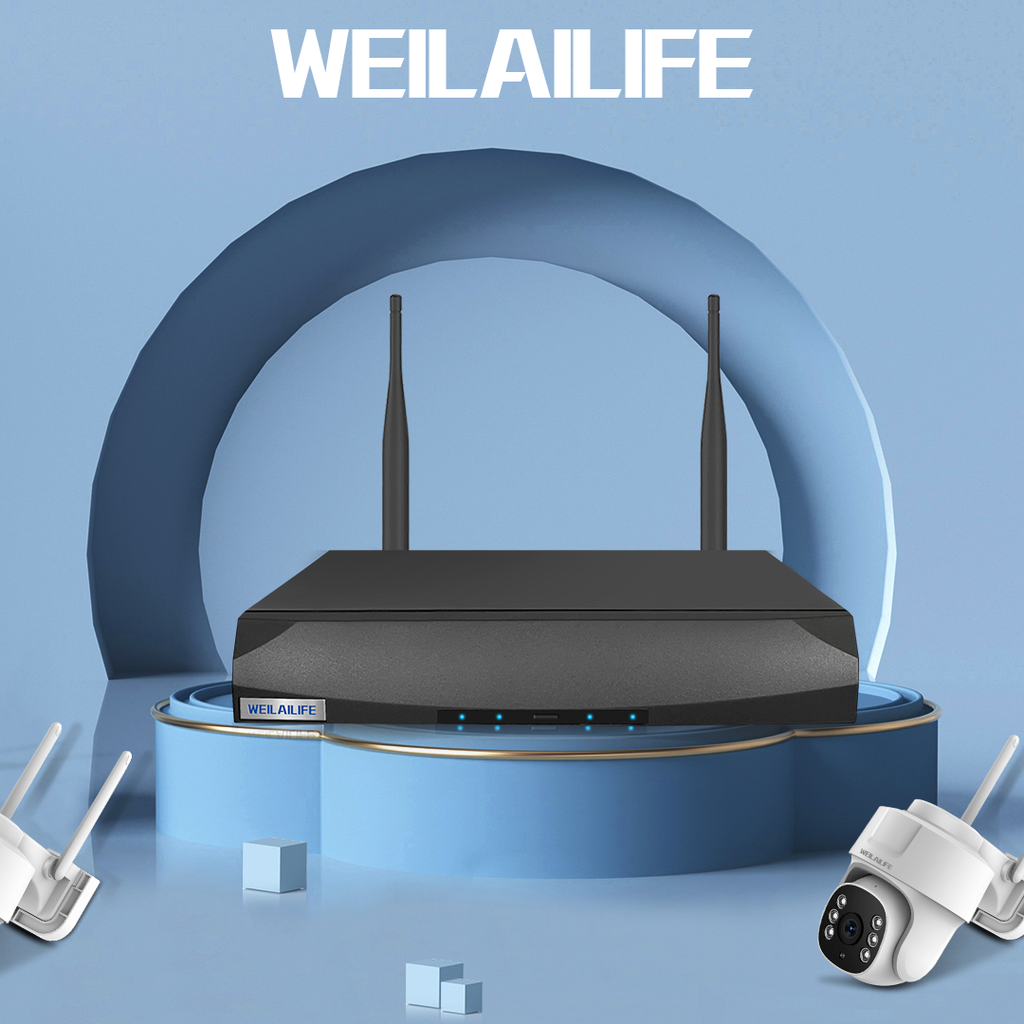
A quick tip: If you are looking for the best outdoor security camera for home use that simplifies this whole process, WEILAILIFE offers integrated systems where the panel and camera are designed to work together seamlessly. You don’t have to guess about compatibility.
How to Install Outdoor Security Camera: Step-by-Step
You do not need to be an electrician to get this right. Here is how to install outdoor security camera components for a solar setup without the headache.
1. Check the Power Needs
First, check your camera’s wattage. Most run about 3 to 10 watts. If it uses 5W, it needs about 120Wh per day. That is your baseline for sizing the panel.
2. Size the Solar Panel
In the US, most places get about 4 to 5 "peak sun hours" per day. Take your daily wattage and divide it by those hours. So, if you need 120Wh, a 25W or 30W panel will keep you safe even on cloudy days.
3. Mounting the Panel (Crucial Step)
For those in the Northern Hemisphere, point the panel south. Tilt it at an angle roughly equal to your latitude. And for goodness sake, avoid shade—even a little shadow from a tree branch can kill your output.
4. Focus on Connection and Weatherproofing
Mount the camera 8-10 feet high to prevent tampering and get the best view. Make sure all cable connections are sealed up tight. Water intrusion is the #1 killer of outdoor cameras.
The WEILAILIFE Advantage
You can buy everything separately and DIY the wiring, or you can grab a system that is already optimized. With WEILAILIFE, you get a system built around the principle of "Practicality" and "Reliability". The panels are designed to match the camera draw perfectly, so you are not overpaying for a panel that is too big or struggling with one that is too small.
Whether you need to monitor a far-off workshop or just want to keep an eye on the mailbox, choosing a brand that understands low-power design makes a massive difference.
Don't Overthink It
You do not need to go overboard with engineering. If you are mounting a camera that only records on motion, a 10W panel is often plenty to keep it topped off. The biggest mistakes people make are undersizing the panel (trying to save 20 bucks) or forgetting to clean the dust off the panel every few months. That's it. Just keep the glass clean, and you are good to go.
Final Thoughts
Switching to solar is one of the smartest moves for modern home security. You cut the cords, save money, and get the flexibility to watch every corner of your property. By following these simple sizing and installation tips, you can have a system that runs for years with almost zero maintenance.