


Weak Electrical Technicians’ Must-Know Guide to Video Surveillance Installation
Installing a video surveillance system might seem simple at first glance, but effective setup goes beyond just mounting a camera on the wall. Whether you’re a homeowner, small business owner, or professional installer, proper placement and configuration are key to capturing clear, reliable footage. At WEILAILIFE, we’ve compiled a comprehensive guide to help you avoid common mistakes and get the most out of your security cameras.
Why Camera Placement Matters
The location of your home security camera or business surveillance camera significantly affects both image quality and device lifespan. Many users assume any spot will work, but careful placement ensures optimal coverage and prevents damage.
Indoor installations: Mount cameras at least 2.5 meters (8 feet) above the ground. This height helps prevent tampering while providing a wide field of view.
Outdoor installations: Ideally, place cameras 3.5 meters (11–12 feet) or higher. This protects against vandalism and environmental interference.
Even with advanced WEILAILIFE cameras, proper placement is essential. Reducing shadows, avoiding obstacles, and managing light exposure will help your system perform reliably in all conditions.
Choosing the Right Installation Angle
Most surveillance setups use either bullet or dome cameras:
Bullet cameras: Easy to point at specific areas; suitable for both indoor and outdoor monitoring.
Dome cameras: More discreet; commonly installed indoors on ceilings or walls.
Installation tips:
Avoid directing cameras toward bright light sources. Without wide dynamic range (WDR), sunlight or strong lamps can wash out the image.
Use sturdy mounting hardware to minimize vibrations and image jitter. WEILAILIFE outdoor camera brackets are engineered to withstand wind and environmental stress.
Recommended Installation Heights
Optimal height for outdoor cameras: 3–4 meters (10–13 feet).
Ensure safe access for maintenance using ladders or temporary platforms. Always follow safety protocols when working at heights.
Power Supply Safety
Reliable power is essential for all video surveillance systems.
Wired DC power: Requires running cables and using protective conduits.
PoE (Power over Ethernet): Supplies both power and data through a single cable, simplifying installation and maintenance.
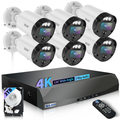
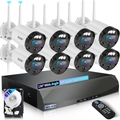
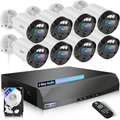
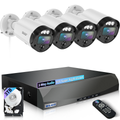
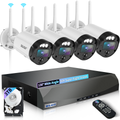
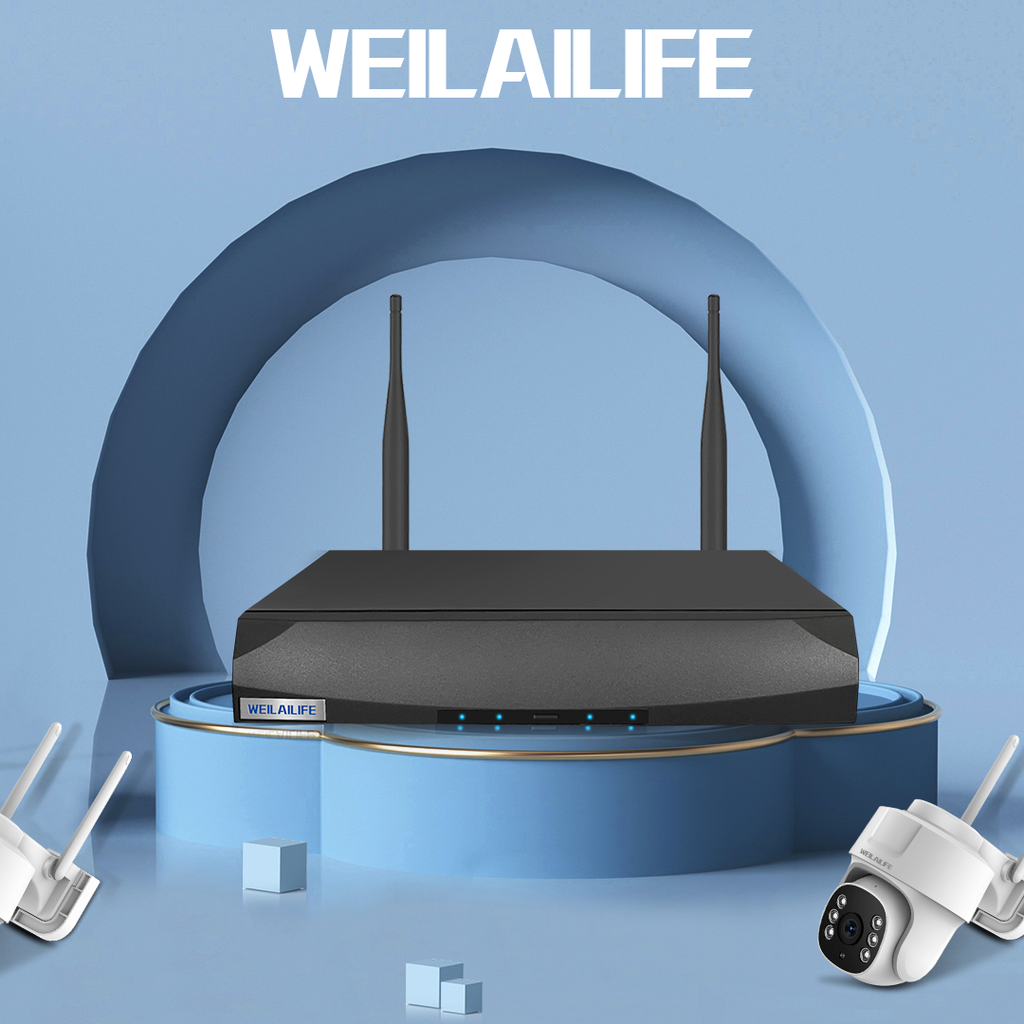
WEILAILIFE PoE cameras are ideal for both homes and businesses, providing a clean, reliable setup with minimal wiring.
Extra precautions:
- Test circuits with a multimeter before connecting cameras.
- Use waterproof enclosures for outdoor installations.
- Consider lightning protection in storm-prone areas.
Lighting and Night Vision
Effective surveillance requires clear footage in low light:
Infrared (IR) cameras: Provide black-and-white images in the dark, suitable for most applications.
WDR cameras: Handle scenes with strong sunlight and deep shadows.
Full-color night vision cameras: Illuminate scenes with LEDs for clear, colored images at night.
WEILAILIFE night-vision cameras combine these technologies for high-quality monitoring, day and night.
Cable and Connection Guidelines
Proper cabling ensures reliable video signals:
Wired cameras: Keep cables away from high-voltage lines; maintain at least 0.5 meters separation if parallel installation is unavoidable.
Wireless cameras: Avoid areas with strong electromagnetic interference.
Recommended materials:
Cat5e/6 oxygen-free copper cables with gold-plated connectors.
DC power cables:
0–30 meters: RVV 2×0.5 mm²
30–50 meters: RVV 2×0.75 mm²
50 meters: RVV 2×1.0 mm²
For outdoor or high-risk installations, consider galvanized steel conduits.
Accessory and Device Setup
Ensure mounts, PTZ units, and racks are stable and easy to maintain.
Maintain clearance around cameras for ventilation and servicing.
Consider protective covers or temperature control for extreme environments.
WEILAILIFE cameras come with professional-grade mounting hardware to simplify installations.
Common Troubleshooting Tips
- HDD formatting issues: Slow formatting may indicate a failing hard drive.
- Camera offline: Check power and network connections.
- Video lag: High-bitrate cameras can overload switches or NVRs; verify bandwidth.
- Decoder setup: Use web interface or software like IVMS-4200.
- Alarm or audio connections: Connect cameras to “Alarm In” or “Audio In” terminals as needed.
- Power considerations: IR lights require extra current; e.g., use 12V 2A for a 12V 1A camera with IR.
WEILAILIFE NVRs support intuitive IP management and easy configuration for hassle-free setup.
Efficient NVR Integration
Automatic add: NVR scans and adds online cameras automatically.
Manual add: Adjust channel settings via NVR interface.
IP management: Change camera IPs directly through the NVR or web interface.
Conclusion
Installing a video surveillance system is not just about hardware—it’s about thoughtful planning. Key points to remember:
Install cameras at safe, optimal heights for security and maintenance.
Select the right camera type and angle for your environment.
Use PoE power when possible to simplify wiring.
Pay attention to lighting, cable quality, and interference.
Choose WEILAILIFE cameras for reliable night vision, durable mounts, and easy configuration.
Following these strategies ensures that your home, office, or business is protected efficiently and cost-effectively, giving you true peace of mind.